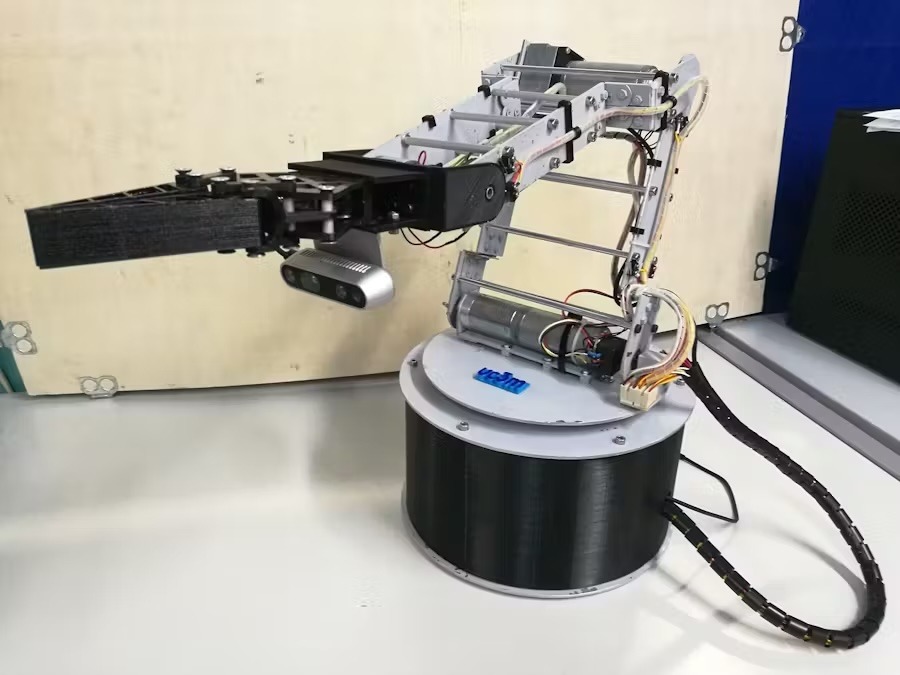
We all love the immense convenience provided by robot vacuum cleaners, but what happens when they get too old to function? Rather than throwing it away, Milos Rasic from element14 Presents wanted to extract the often-expensive components and repurpose them into an entirely new robot, inspired by the TurtleBot3: the PlatypusBot.
Rasic quickly got to work by disassembling the bot into its drive motors, pump, and several other small parts. Luckily, the main drive motors already had integrated encoders which made it very easy to connect them to an Arduino UNO R4 WiFi and an L298N motor driver for precise positional data/control. Further improving the granularity, Rasic added a 360-degree lidar module and enough space for a Raspberry Pi in order to run SLAM algorithms in the future.
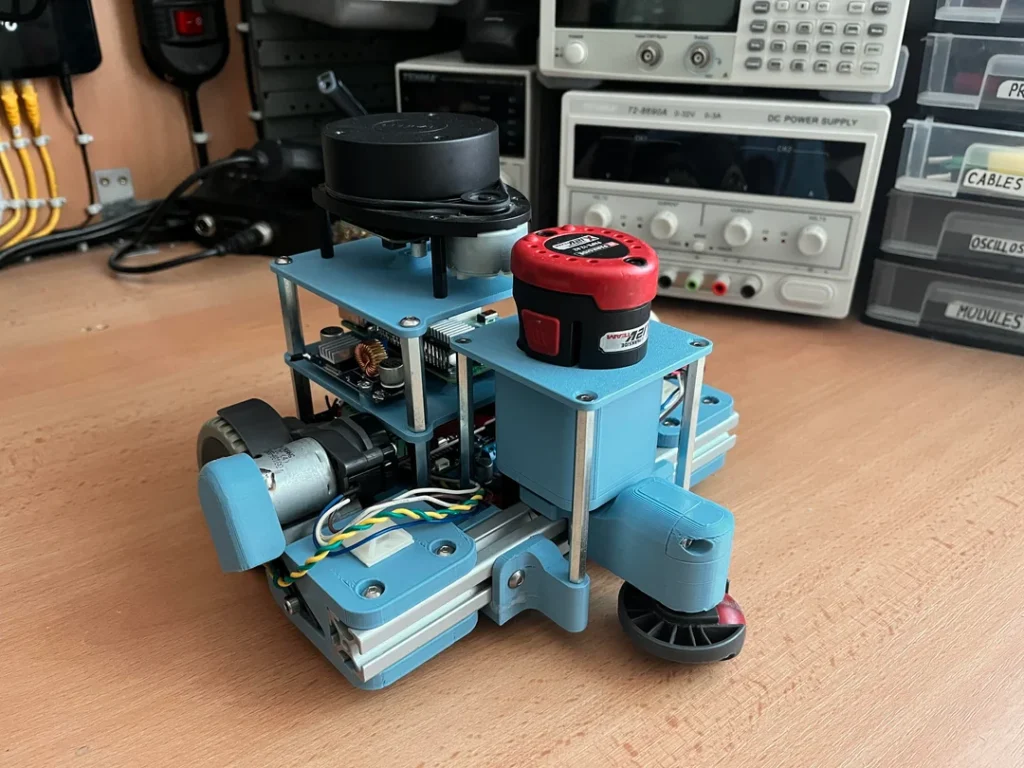
For now, this 3D-printed robot assembled from reclaimed robot parts is controlled via a joystick over UDP and Wi-Fi. The host PC converts the joystick’s locations into a vector for the motors to follow, after which the values are sent to the UNO R4 WiFi for processing.
For more details on this project, you can read Rasic’s element14 blog post.
The post The PlatypusBot is a TurtleBot3-inspired robot built from vacuum cleaner parts appeared first on Arduino Blog.